

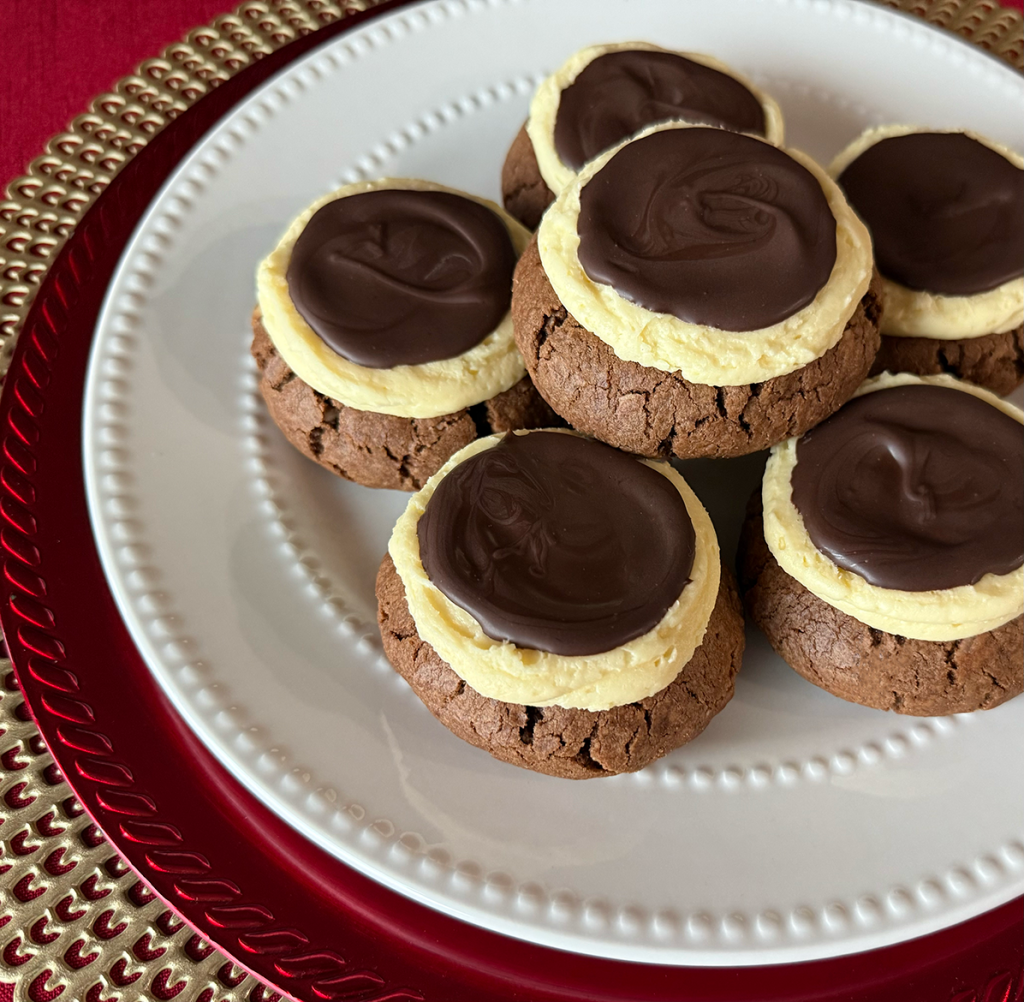
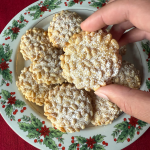
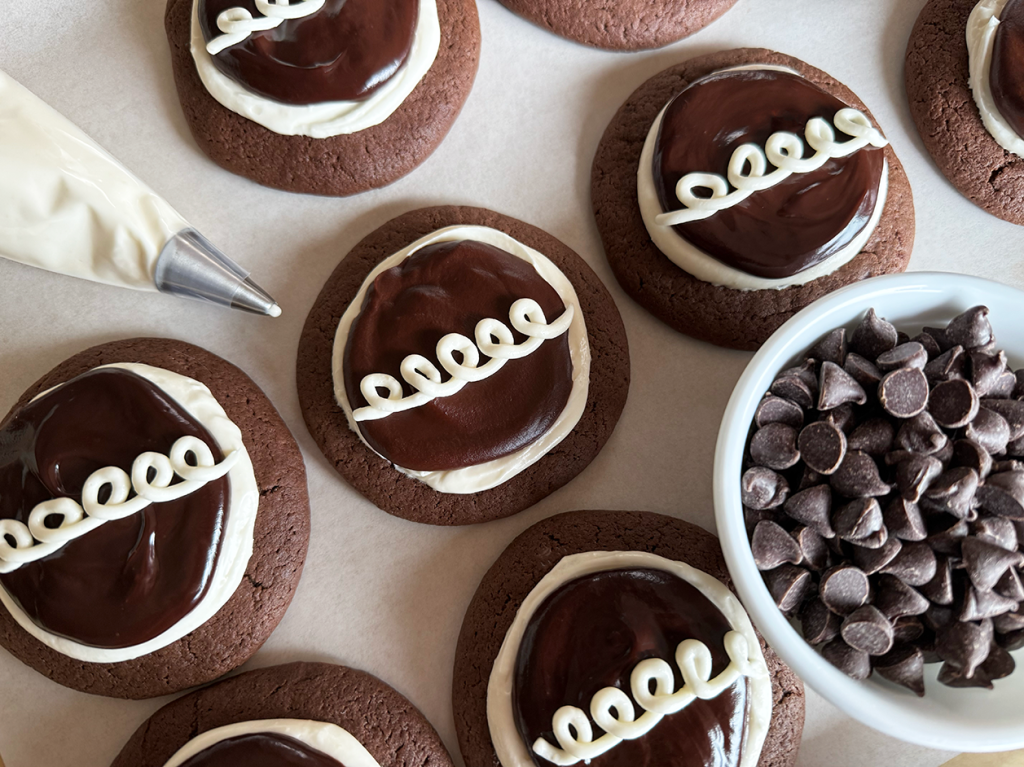
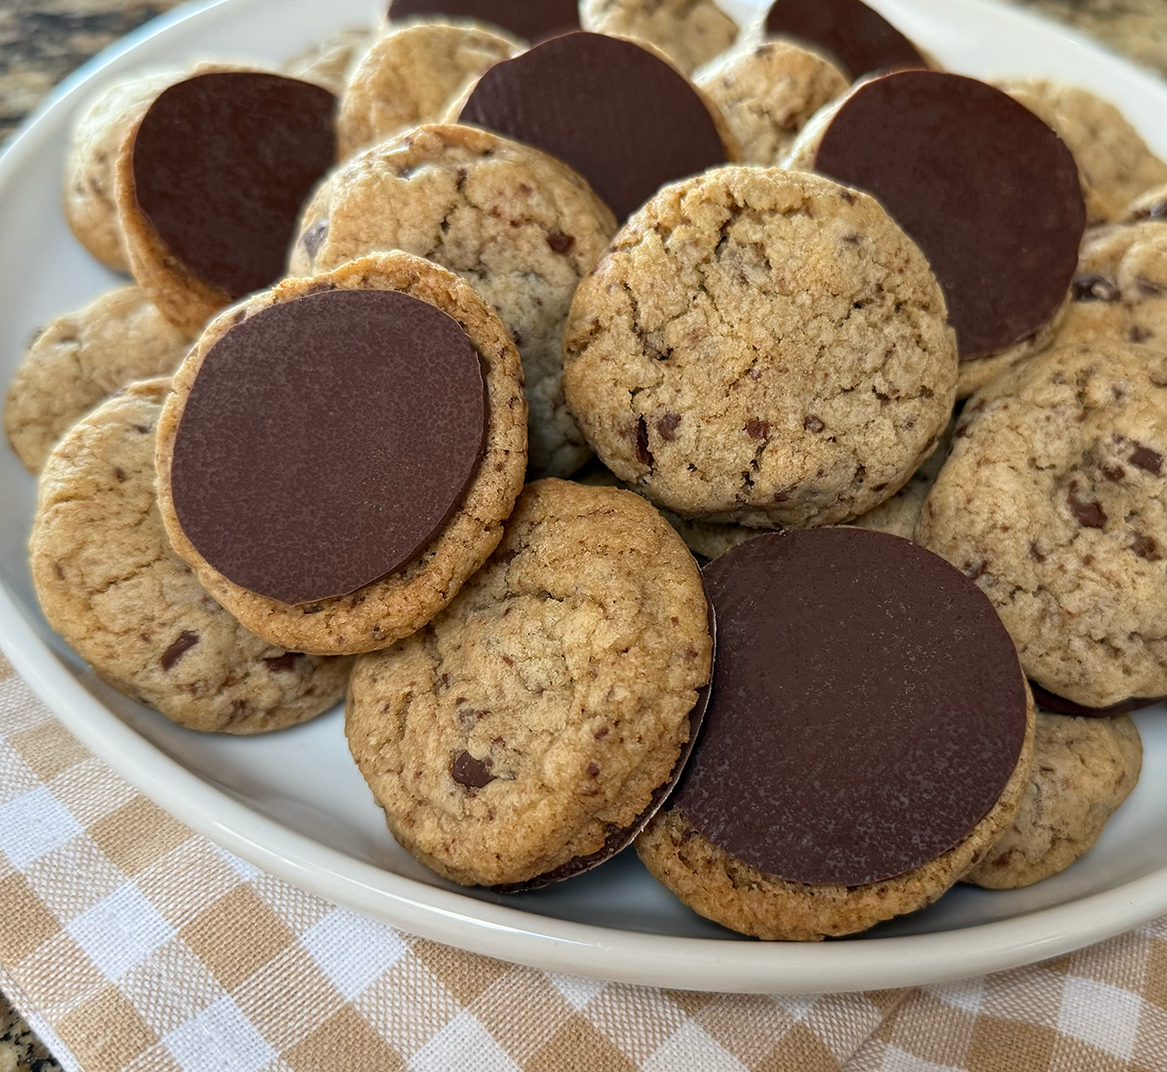
Dubai Chocolate Cookies
Decadent chocolate cookies crowned with creamy pistachio butter and toasted kadaifi. Rich, nutty, and irresistibly indulgent, every bite feels like a first-class ticket to dessert heaven!
Servings: 20 cookies
Ingredients
CHOCOLATE COOKIES:
- 2 c. all-purpose flour
- 1/2 c. unsweetened cocoa powder
- 1/2 tsp. baking powder
- 1/2 tsp. baking soda
- 1/2 tsp. salt
- 3/4 c. unsalted butter room temperature
- 1/2 c. dark brown sugar packed
- 1/2 c. granulated sugar
- 1 lg. egg
- 1 T. molasses
- 1 tsp. vanilla extract
PISTACHIO FILLING:
- 1/4 c. salted butter
- 2 c. kadayfi shredded phyllo
- 1 (6.7 oz.) jar pistachio butter
CHOCOLATE DRIZZLE:
- 6 oz. semi-sweet chocolate melted for drizzling
- 1 tsp. coconut oil
Instructions
- Preheat the oven to 350 degrees. Line two rimmed baking sheets with parchment paper; set aside.
- CHOCOLATE COOKIES: In a medium bowl, whisk together the flour, cocoa, baking powder, baking soda, and salt; set aside.
- In a large bowl, using an electric hand mixer beat the butter, brown sugar, and granulated sugar until light and fluffy, about 2 minutes. Add the egg, molasses, and vanilla extract beat until well combined. Gradually add the dry ingredients to the wet ingredients until just combined.
- Scoop heaping tablespoonfuls of dough and roll into balls. Place the balls onto the prepared baking sheets pressing them down slightly with your fingers or palm.
- Bake for 10-12 minutes. As soon as you take them out of the oven, use the back of a measuring tablespoon to press “wells” into the centers of each cookie while the cookies are still warm. Let the cookies cool completely.

- PISTACHIO FILLING: In a large skillet over medium heat, add the butter and kadayfi. Cook until dark golden brown, stirring frequently (do not burn). Take off the heat and pour to a mixing bowl. Add the pistachio butter and gently toss to combine. Fill the “well” of each cookie with a heaping spoonful of the pistachio/kadayif mixture.

- CHOCOLATE DRIZZLE: In a microwave-safe bowl, melt the chocolate and coconut oil for 30 second increments (stirring in between) until melted. Drizzle the chocolate over the cookies.


